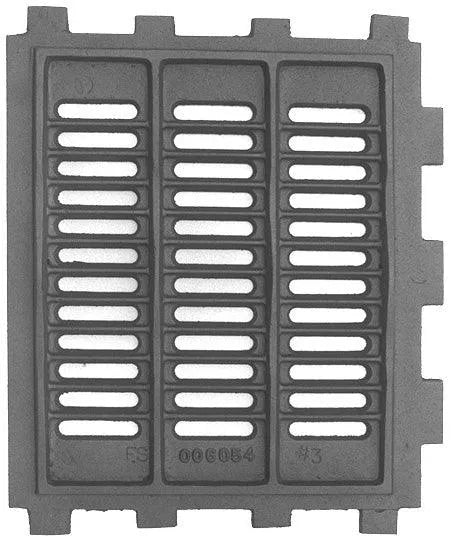
How to Properly Cure and Install Cast Iron Wood Stove Replacement Parts
Learn how to correctly cure and install cast iron wood stove replacement parts with our expert guide. Ensure long-lasting performance and prevent damage by following these proven break-in and curing methods.
Why Curing Cast Iron Wood Stove Parts Is Essential
When you purchased your wood stove, you likely followed a break-in process to protect the cast iron and ensure longevity. The same care is required when replacing cast iron wood stove parts. Without proper curing, new parts can warp, crack, or underperform — leading to costly repairs and reduced efficiency.
In this guide, we’ll walk you through how to cure and install cast iron stove parts, including step-by-step instructions for both in-stove and oven curing methods.
Preparation: What to Do Before Curing
1. Dry Fit the Replacement Parts
Before applying any heat, test-fit all parts inside your stove. Check for tightness, alignment, and surface contact. Make any necessary modifications such as grinding edges or drilling new holes.
Curing hardens cast iron, making post-cure adjustments extremely difficult. Always complete modifications before curing begins.
2. Inspect for Warping or Fitment Issues
Over time, your stove may have experienced slight warping from repeated heating cycles. Ensure the new parts fit flush and seat properly before proceeding.
Curing Methods for Cast Iron Stove Parts
Depending on the size and type of the replacement part, choose one of the following curing techniques.
Method 1: In-Stove Curing (Recommended for Larger Parts)
For large parts already installed in the stove, follow this multi-stage break-in fire process:
Break-In Fire #1: 200°F
Build a small fire and slowly raise the stove’s surface temperature to around 200°F. Let the stove cool completely to room temperature.
Break-In Fire #2: 300°F
Build a slightly larger fire and raise the temperature to about 300°F. Let the stove cool down fully before proceeding.
Break-In Fire #3: 400°F
Start a final fire and increase the temperature to around 400°F. Allow the stove to cool down completely.
After this third cycle, your cast iron part is fully cured and ready for regular use.
Method 2: Oven Curing (Best for Small Cast Iron Parts)
If your replacement part is small enough to fit inside a conventional oven, follow these steps:
-
Preheat your oven to 325°F.
-
Place the cast iron part on a baking sheet or oven-safe rack.
-
Heat for 30 minutes at 325°F.
-
Increase the oven temperature by 25°F every 30 minutes until you reach 500°F.
-
Once at 500°F, turn off the oven and allow the part to cool inside to room temperature.
-
Once cooled, the part is ready for installation.
Never remove hot cast iron parts from the oven immediately — sudden temperature changes can cause cracking.
Steel vs. Cast Iron: Do You Need to Cure It?
Cast Iron Parts: Yes, curing is essential to ensure long-term durability, reduce brittleness, and prevent cracking.
Steel Parts: No, steel replacement parts do not require a curing process and can be installed immediately.
Final Thoughts: Get the Most Out of Your Wood Stove
Curing cast iron replacement parts is a simple but crucial step in maintaining the performance and longevity of your wood-burning stove. Whether you choose to use break-in fires or oven curing, following these guidelines will help prevent damage and ensure your stove continues to run efficiently for years to come.
Need Help Choosing the Right Part?
Browse our selection of cast iron wood stove replacement parts at www.total-hearth.com, or contact our support team for expert advice.

